Preparing the rails
After you unpack the rails, pour some 99% Isopropyl Alcohol into pot/vase/similar container, about 5-6 inches off the bottom. Put zip ties into both ends of each rail, slide the carriage down to one end and stand the rails inside your container. Ensure that the carriages are fully submerged, leave for about 24 hours. Afterwards, lift one rail at a time, slide the carriage back and forth and use a paper towel or cloth to wipe the rail. By the end of it, sliding the carriage around should feel “metallic” as you can feel/hear the ball bearings moving around without any lubrication.
The RobotDigg rails specified for K2 have grease ports under the dust covers on the sides. Remove the two screws holding one of the dust covers, slide it off and inject grease into the grease ports underneath. I used Mobil EP2 grease with a syringe and a blunt-tip needle. For good measure, I also stuck the needle into the part where the groove under the carriage (next to where the bearing channel lies) and injected grease in there. Move the carriage back and forth several times, the carriage should now feel a bit sticky. This is normal.
Installing the rails
Lay the rail next to the slot it will go into, and insert M3 2020 roll-in nuts, positioning them so that they align with the holes in the rails. I used one nut every other hole, with two nuts next to each other in the middle.
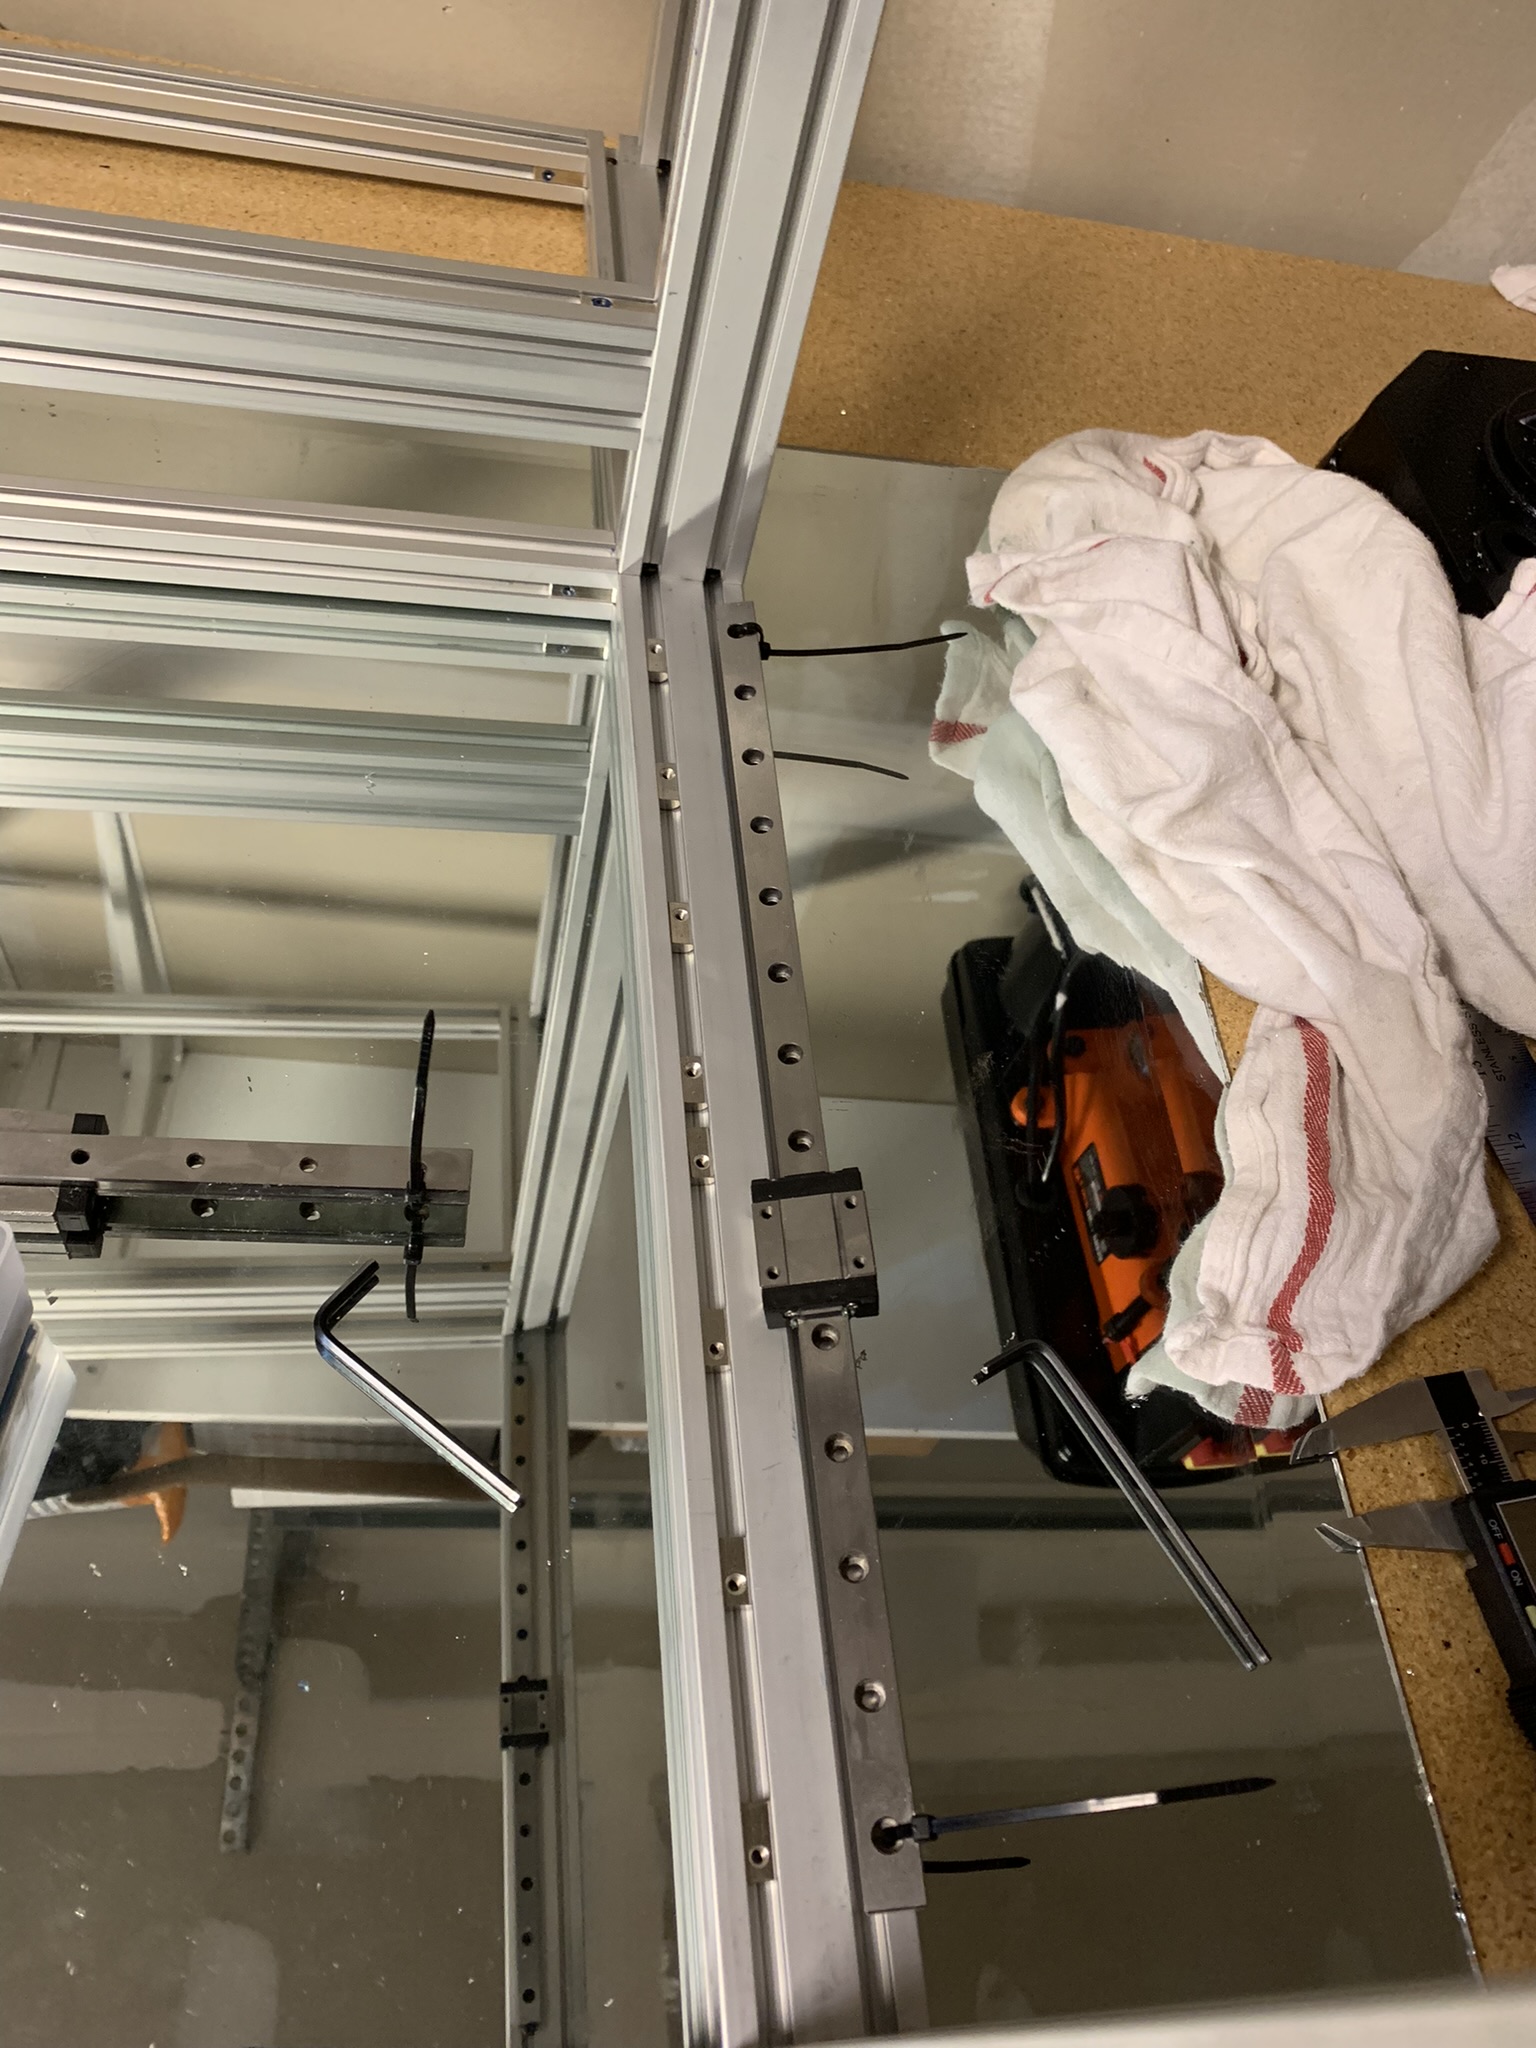
Figure 1: K2 rail nuts
I also used one extra nut on the outside of each rail with an extra long bolt in it to act as a temporary endstop, to prevent the carriage from sliding off the rail. Trust me, you want to keep those carriages from falling off their rails at all costs.
Cut off the zip ties. Use the printed 2040 rail alignment jigs to center the rail.
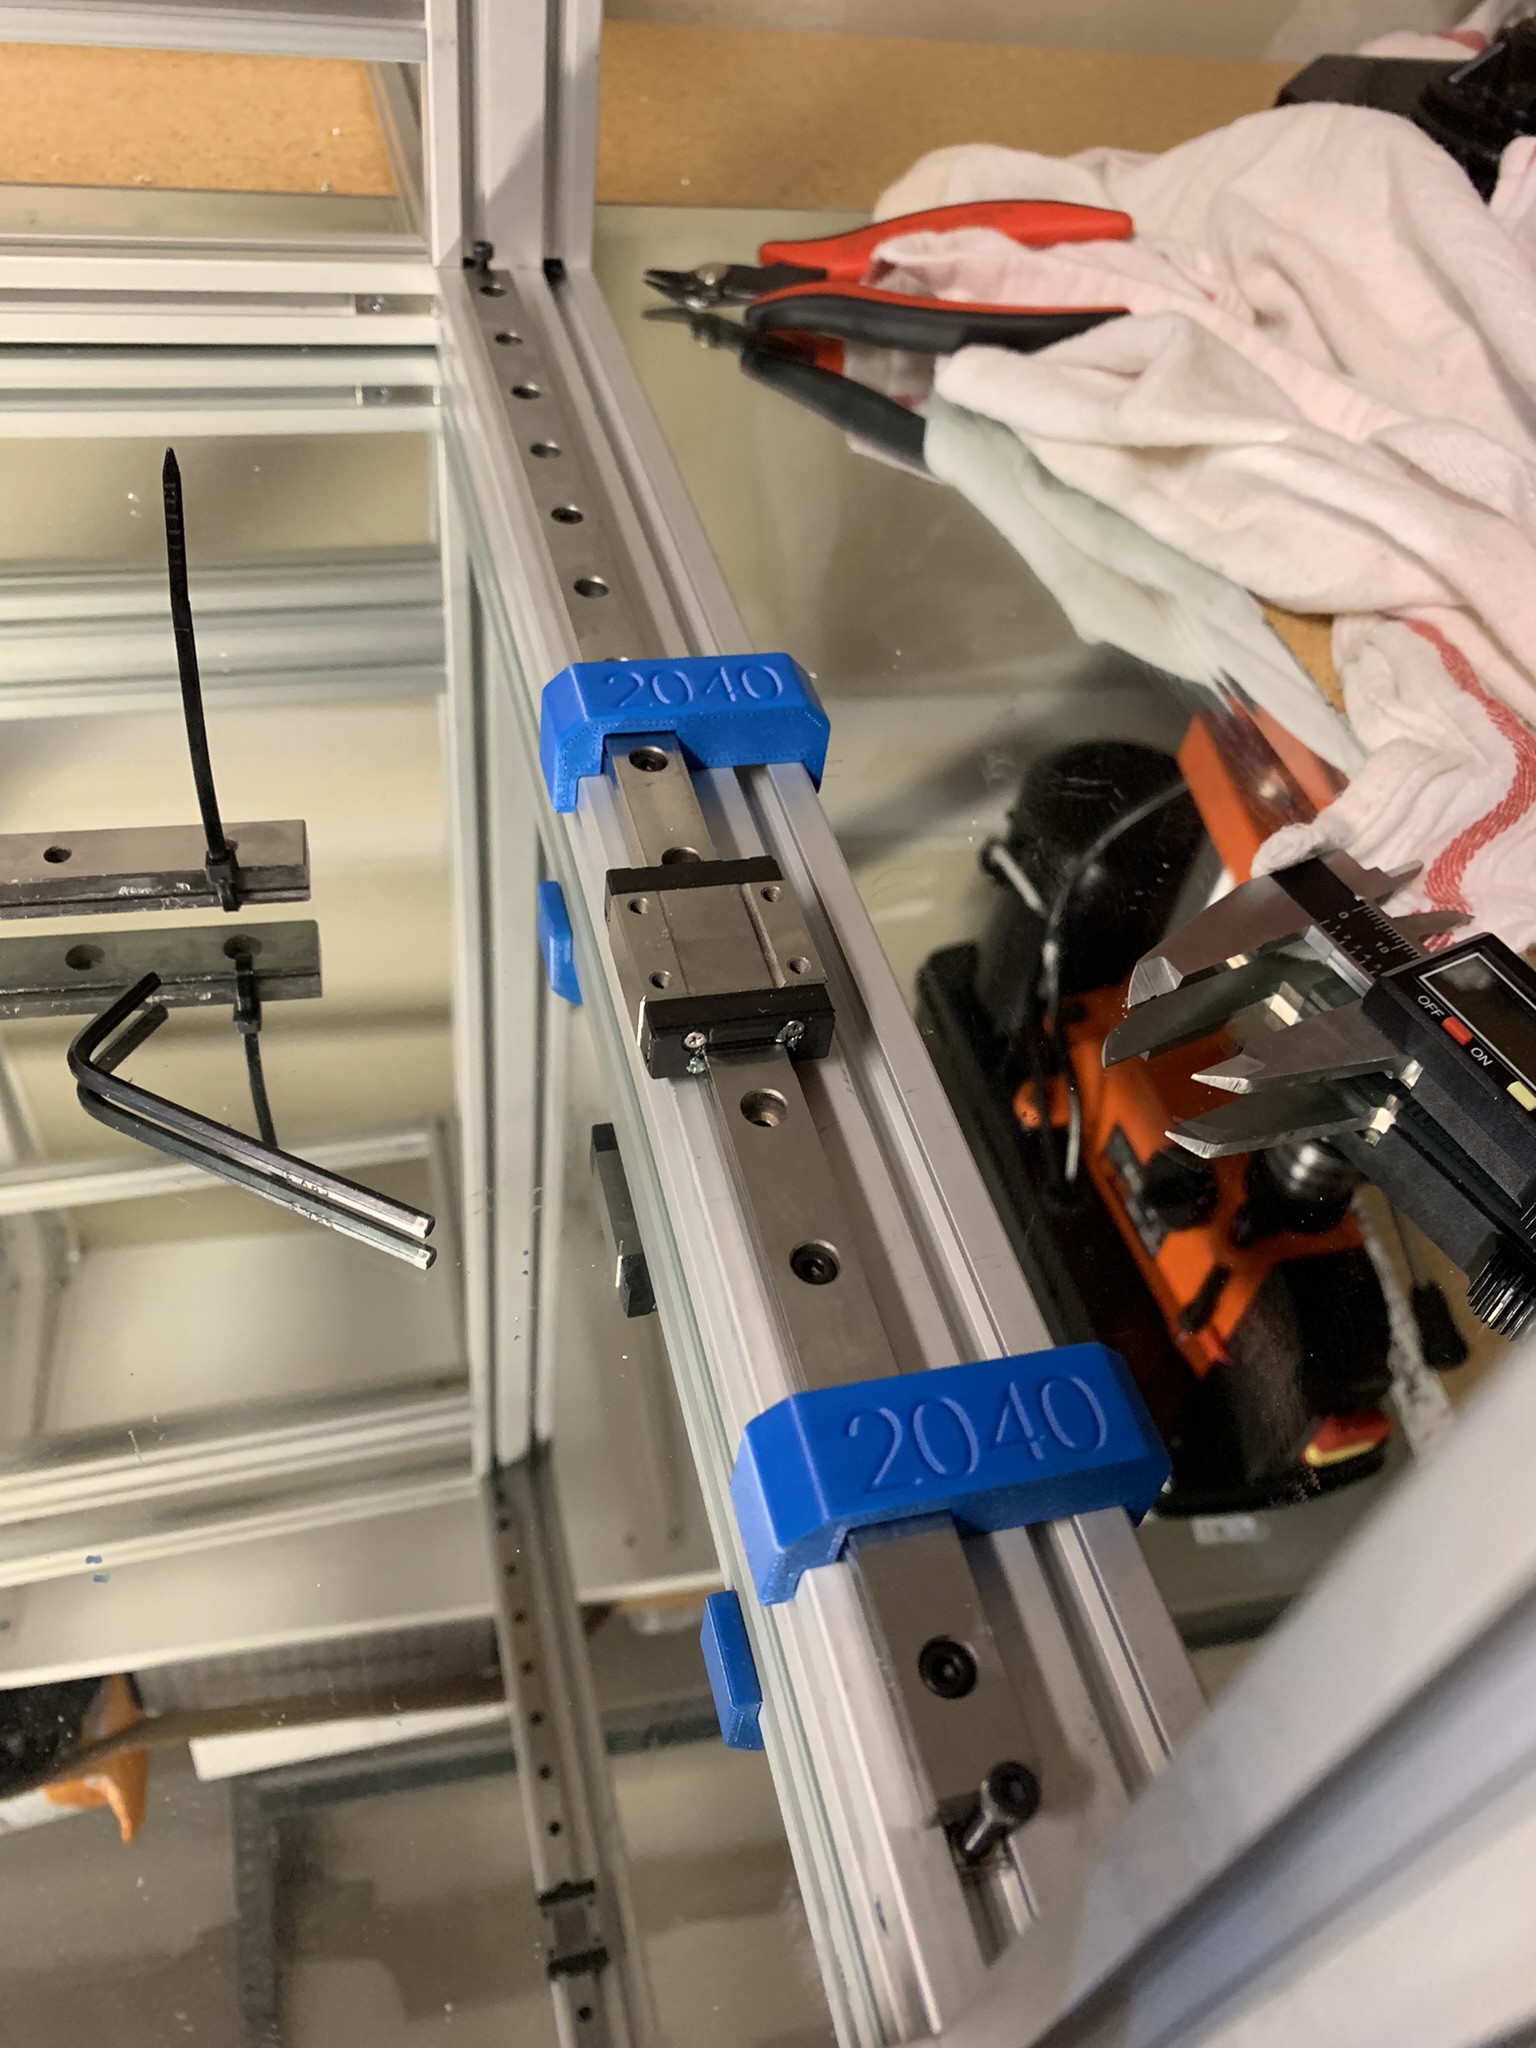
Figure 2: K2 rail alignment
You are supposed to print three copies: one for each end and one in the middle. I opted to use two: one at one end and one floating. I started at the bottom with one jig at that end and the other in the middle. I tightened bolts one at a time from the bottom going up, moving the bottom jig as I went along. Once I hit the middle, I moved the middle jig to the top end and kept sliding the other one up as I went along.
Repeat this process for the other three rails. Make sure you screw them into the inner slot of the 2040.
Installing the idlers
This is straightforward. Insert the shaft into one printed piece, insert the idler onto the shaft and then insert the other end of the shaft into the other printed piece. Use a pair of calipers to position the closer end of the idler 16 mm from the extrusion. Bolt it tight into the extrusion, then apply light pressure on the other half as you bolt it in too. Once you’re done, check for two things:
- The idler should not move side-to-side
- The idler should rotate without any resistance
If either of the above happens, loosen the bolts holding the farther printed piece and try again.
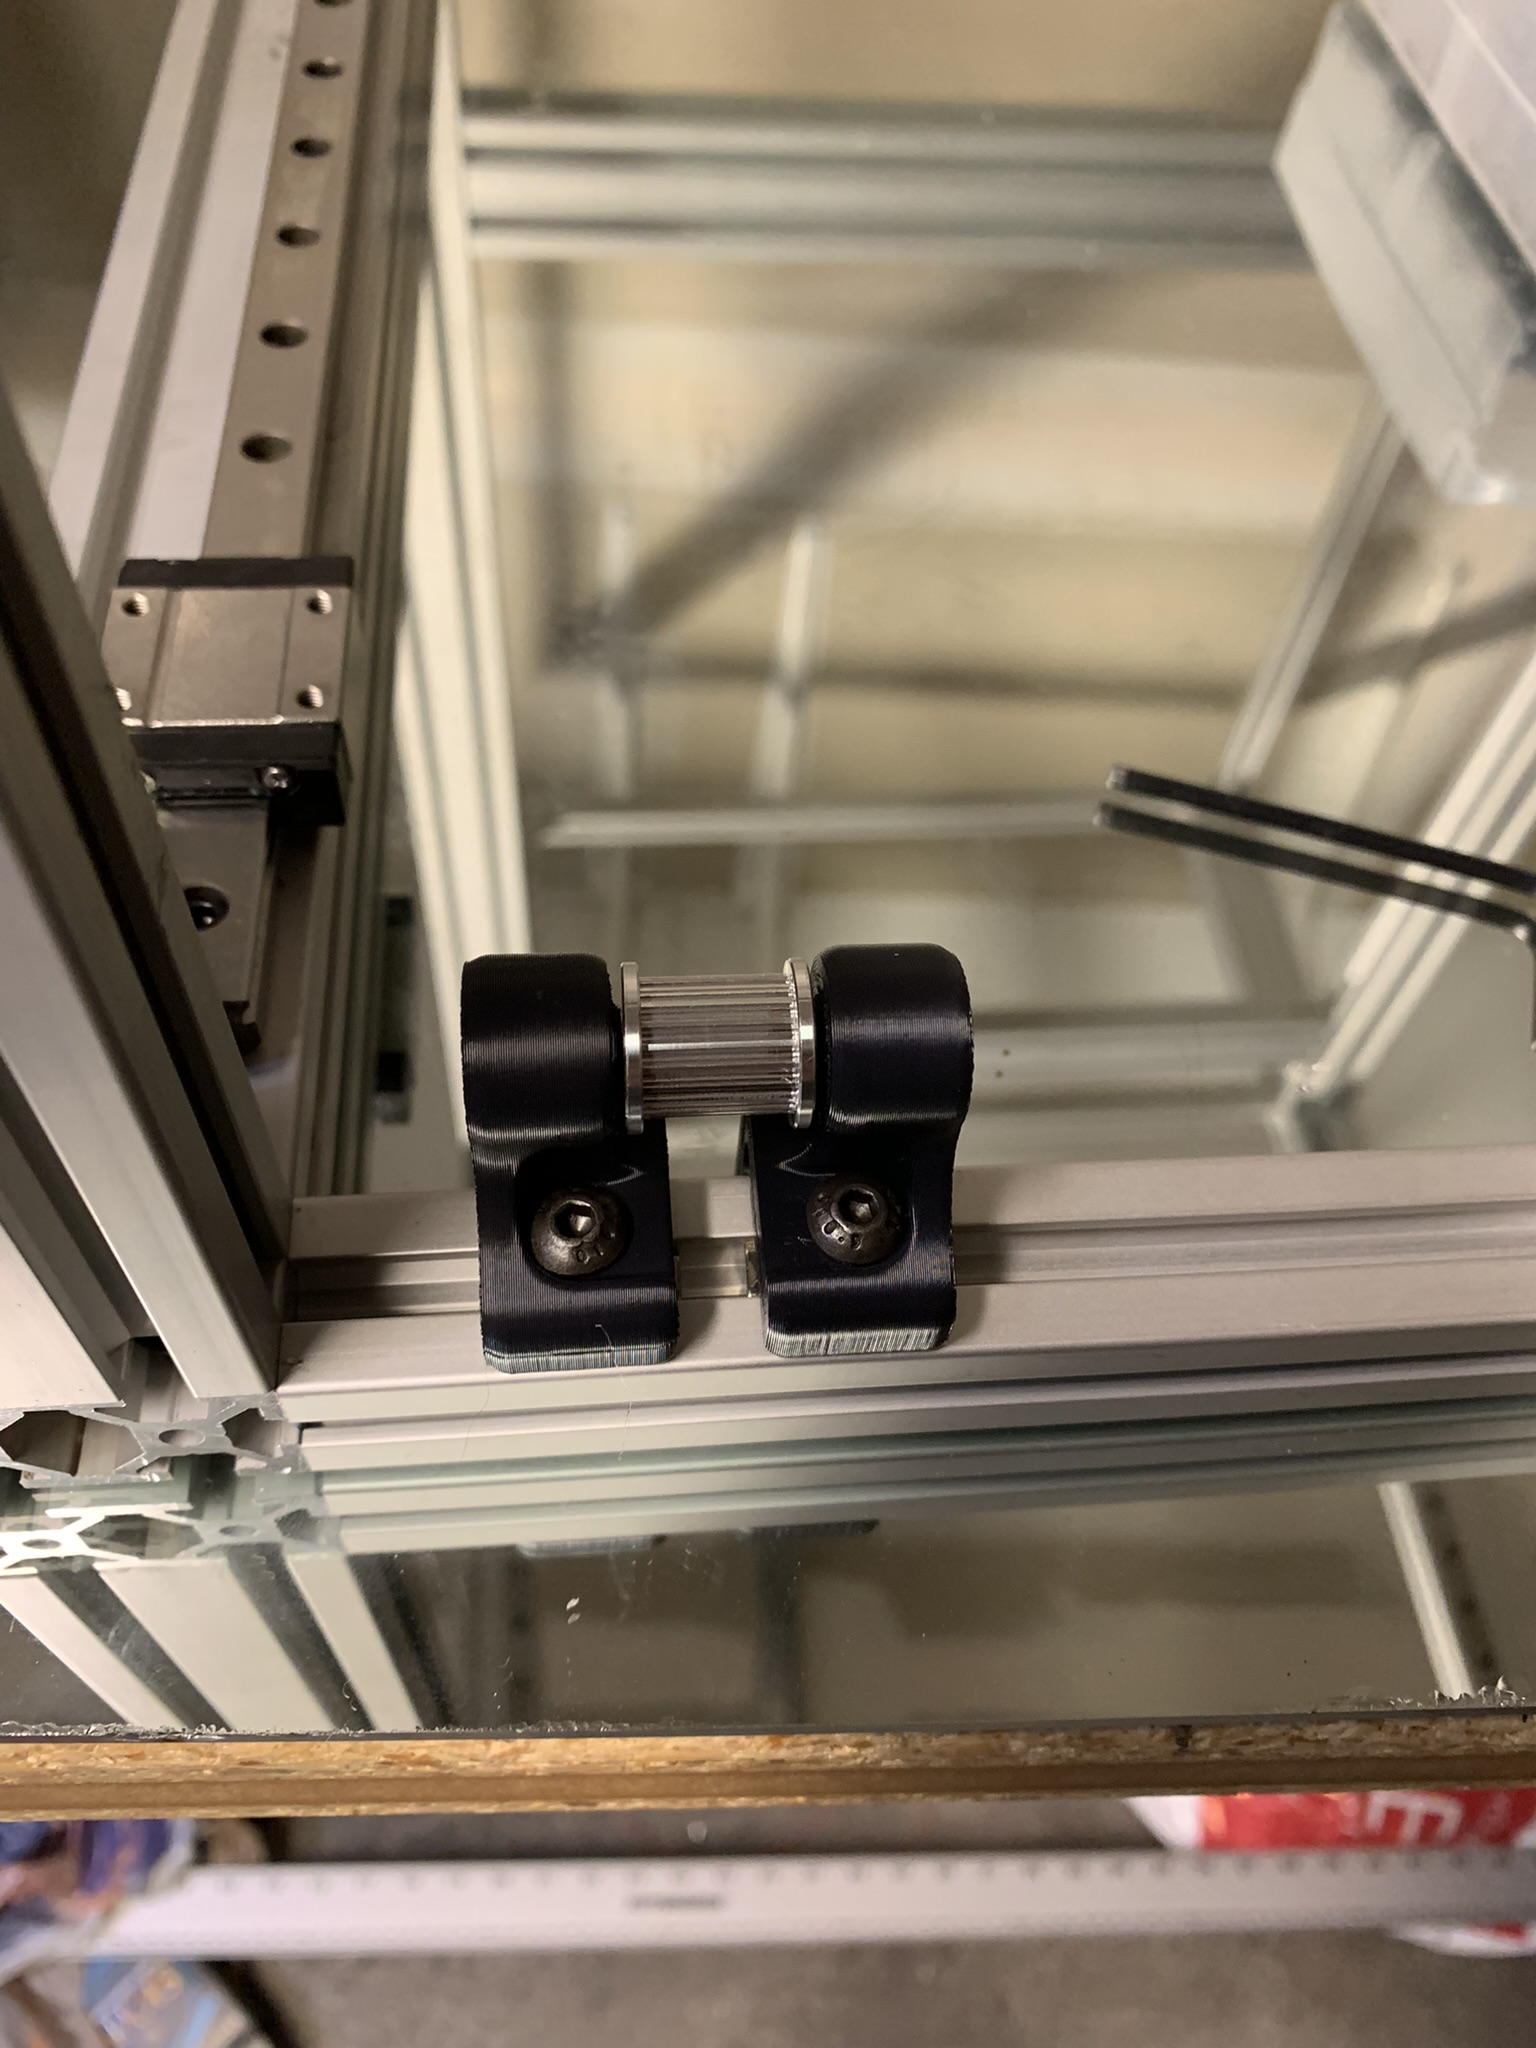
Figure 3: K2 Z idler
Installing the bed lifting parts
Here’s everything you’ll need:
- Printed parts
- 1x Spherical bearing
- 2x M3x45 SHCS
- 2x M3x40 SHCS
Take note that there are two versions of the giant foot-like structure. One goes on the left rail and the other on the right rail.
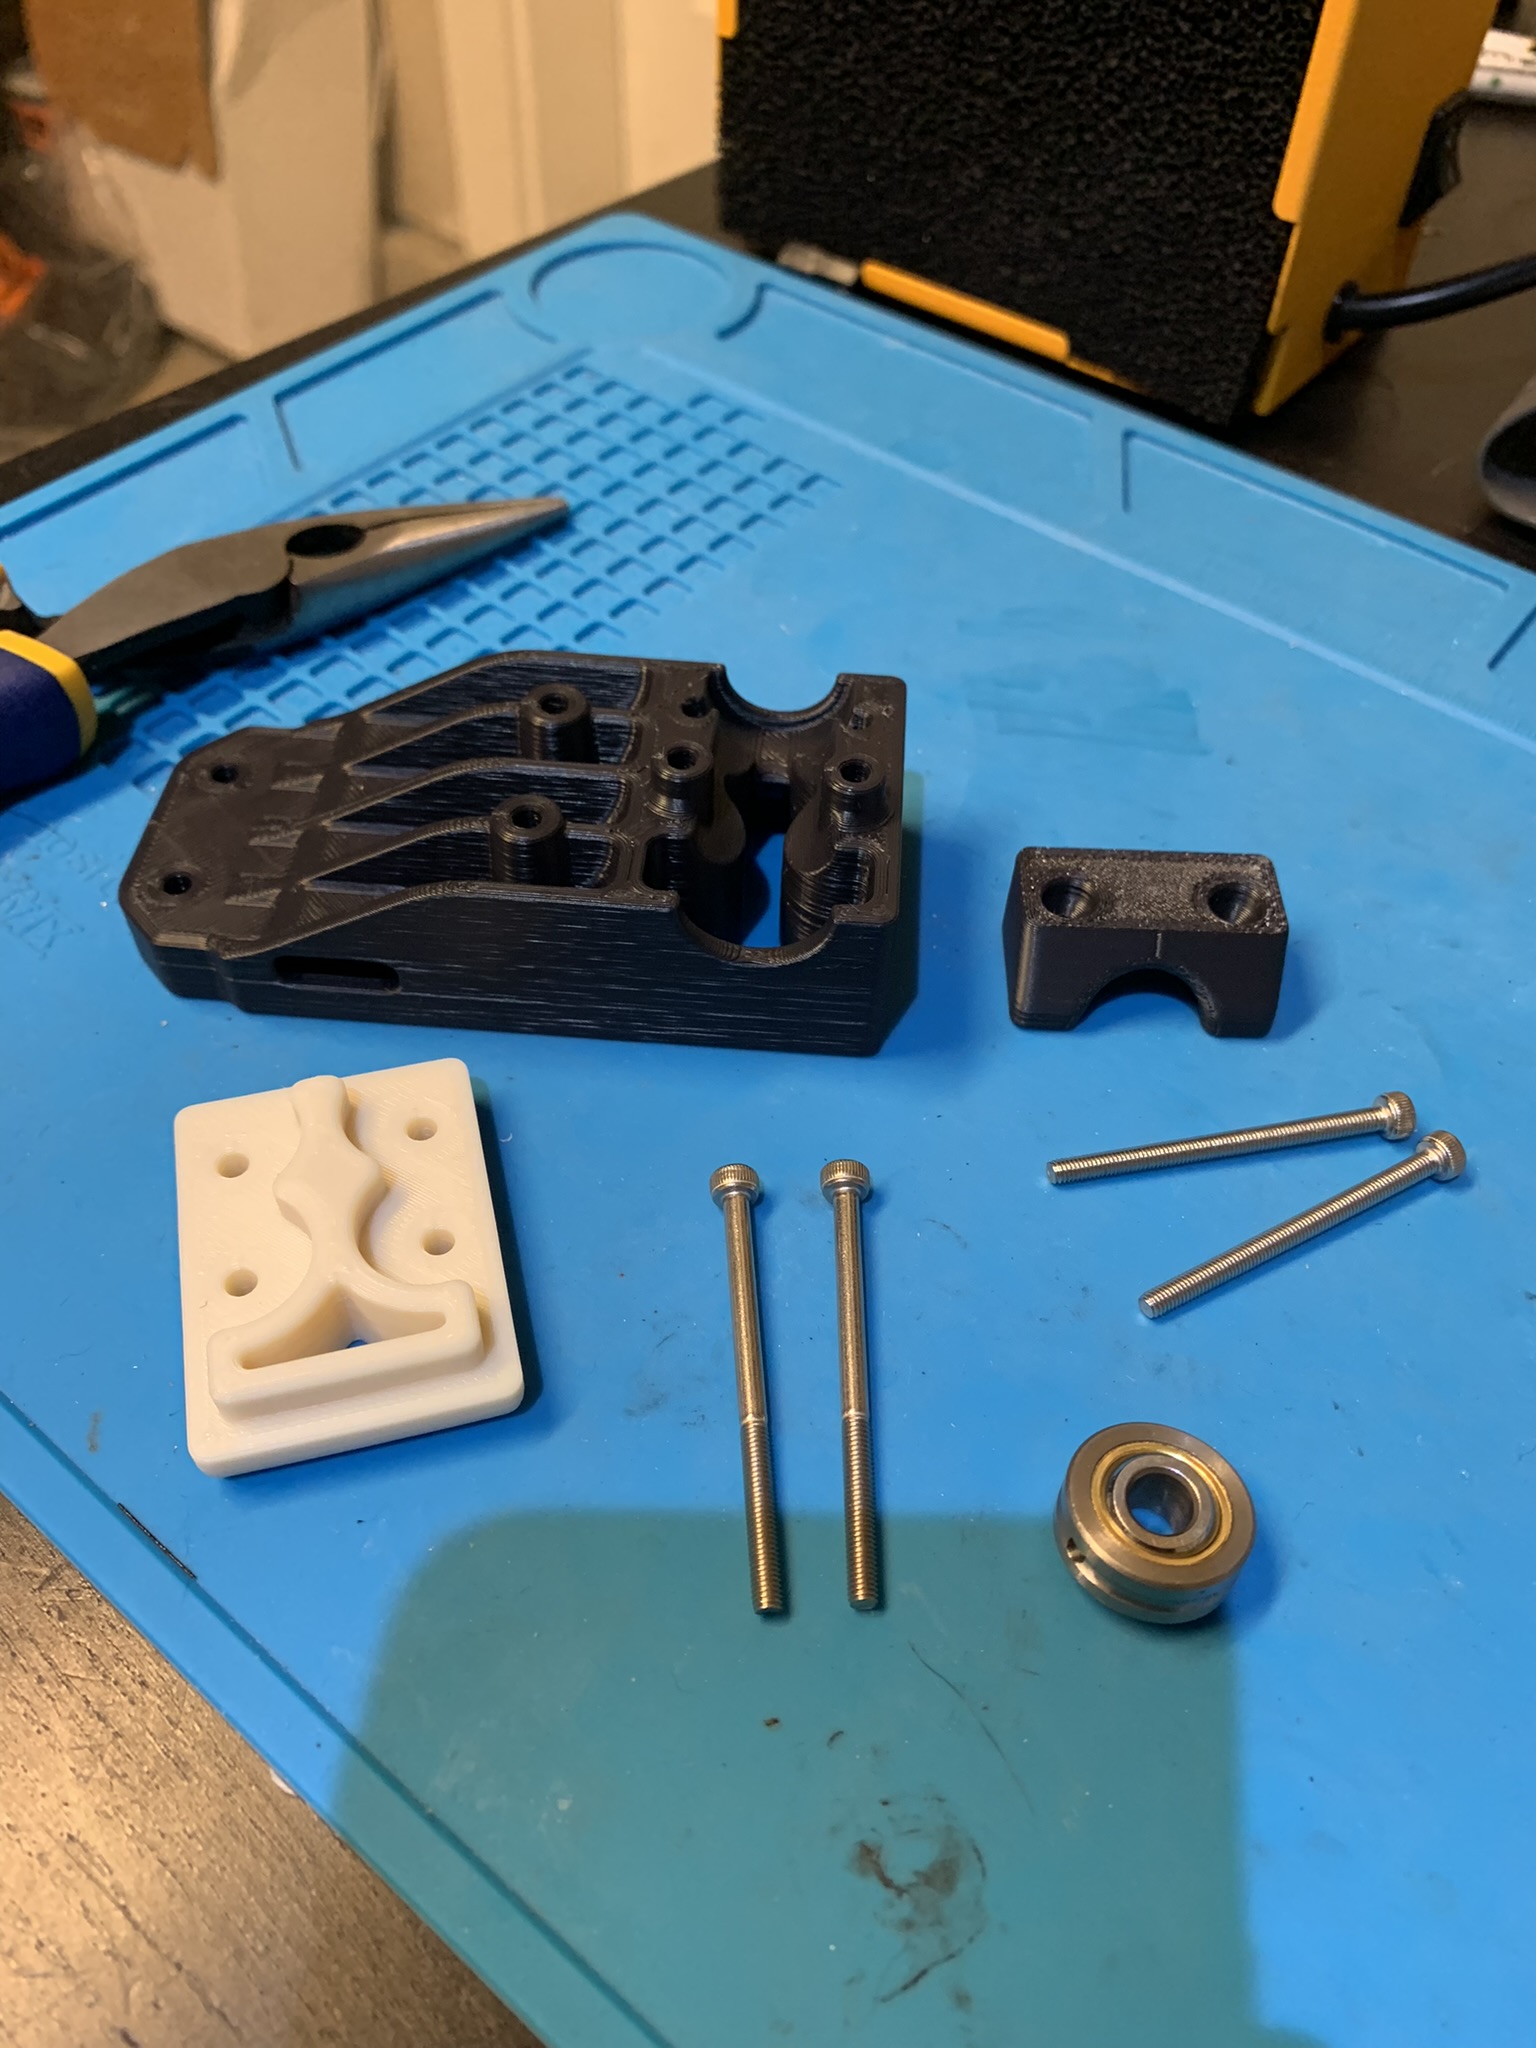
Figure 4: K2 bed lifting bom
Insert the bearing into the printed part and place its hat on top. The hat can only go on one way.

Figure 5: K2 bed lifting bearing
Insert the accented printed part into the back and insert all four bolts.

Figure 6: K2 bed lifting assembled
Dab a little bit of loctite on the ends of the bolts and screw the part into the rail carriage with the foot pointing inwards.

Figure 7: K2 bed lifting installed